
Photo Credit
Winter is one of most rewarding yet challenging environments to shoot in as a photographer. From battling harsh conditions to managing moisture and making batteries last, there are myriad hurdles to jump through that aren’t even considerations during tamer seasons. That said, snow offers a stunning backdrop, and getting out during the colder months is well worth the trouble once you have the tools and knowledge to do so. Below we detail how you can capture incredible landscapes this winter, including tips on gear, camera and battery management, shooting snowscapes, and staying safe and warm in winter conditions. For more photography advice, recommendations, and reviews, see our photography page.
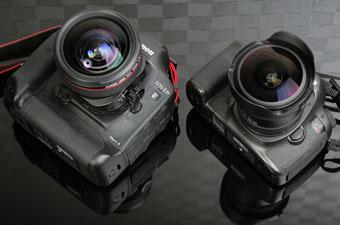
Winter conditions can be taxing on cameras, with freezing temperatures, constant moisture and snowfall, violent winds, and more. These extremes can prove destructive in no time, but a weather-sealed camera provides a good first line of defense from the elements (we have lists of weather-sealed mirrorless cameras and DSLRs to help). Weather sealing varies by model and there are no universal standards, but the process involves adding rubber sealing and housing on the body and around the buttons to make the camera more resistant to moisture, as well as dust. Calling these cameras weatherproof or waterproof would be an exaggeration, but they can handle tough conditions well and are popular among photographers who are frequently shooting in inclement weather. .jpg)
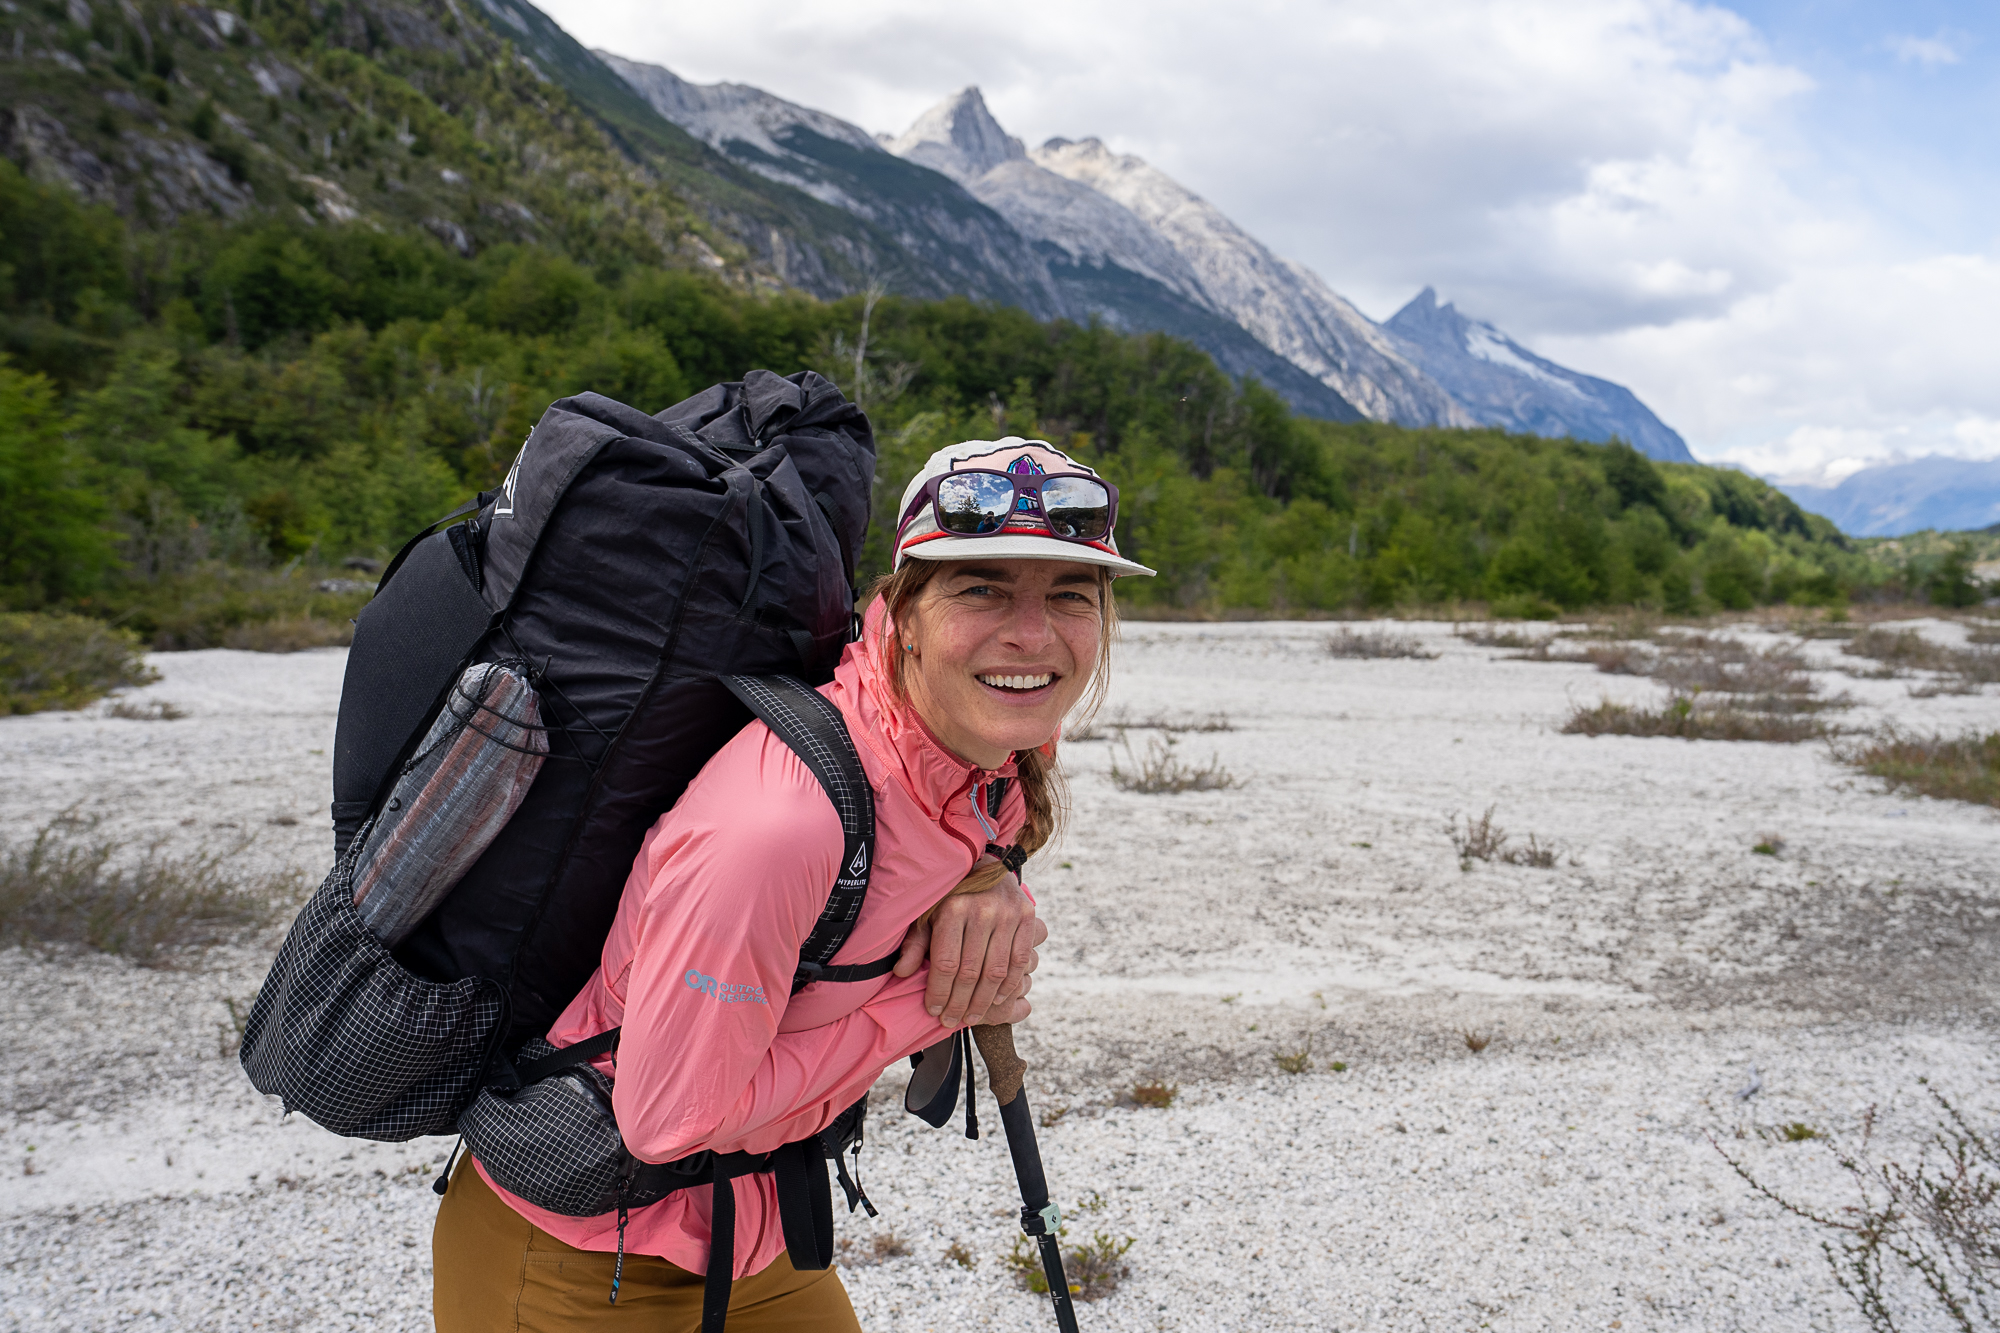
It’s also important to consider the weight and size of your camera and lenses. Traveling through deep snow on foot often takes much longer and is much more strenuous than hiking on dirt trails, meaning you’ll quickly feel any added weight on your back. We’re big fans of going lightweight in the winter, planning many our shots beforehand, and carrying only the necessary lenses. Often, this means just bringing a zoom to cover a wide focal range (24-105mm or 24-70mm), or two primes (18mm and 35mm or 50mm). Try to prioritize your goals and pack accordingly whenever possible.
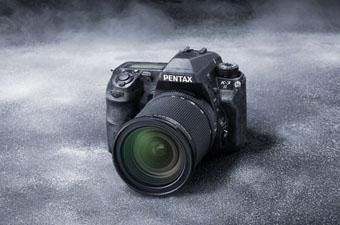
For professionals, size and weight often aren’t as important as getting the shot or fulfilling a clients’ requests, so they’ll sacrifice shaving ounces by carrying a full-frame Canon or Nikon DSLR. These cameras, such as the Nikon D850 and Canon EOS 5D Mark IV, are top-notch systems known for their rugged construction and ability to withstand fairly extreme environments. That said, they’re overkill for the majority of amateur photographers. If you prioritize weight, we recommend going with a lighter and more compact option like a mirrorless camera. Our favorite choices are smaller, crop-sensor bodies like the Sony Alpha a6500 and Olympus OM-D E-M10 Mark III. Both cameras are weather-sealed and will be able to withstand most winter conditions—at around half the weight of the Nikon D850..jpg)
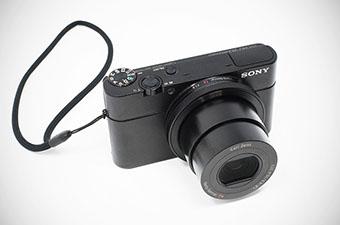
If you’re in search of something even more lightweight and compact, a point-and-shoot might fit the bill. These types of cameras aren’t always weather-sealed and therefore are more vulnerable compared to some of the interchangeable lens cameras. But if you're careful, they can absolutely get the job done. And for those who are a little more abrasive with their gear, an action camera like a GoPro or Sony FDR-X3000 is a wise choice. While these models won’t provide nearly the same image quality and have comparatively short battery lives, they can be a great alternative for shooters who are rough on their equipment.
Ultimately, choosing the right bag for your camera in winter comes down to personal preference. It’s important to consider your goals for the day. Will you be hiking or snowshoeing? If so, a larger, bulkier bag might be worth the added weight. However, if you’re on skis, weight and load distribution soon become paramount. Many opt for a camera-specific bag, like the Lowepro Whistler BP 450 AW II or the F-Stop Tilopa. There’s also the option to go with a hiking or skiing pack and add a separate unit inside that stores and protects camera gear, like the F-Stop Slope ICU or Mountainsmith TAN Kit Cube. .jpg)
Regardless of the bag you choose, keep in mind that it won’t be entirely bulletproof. If you’re spending time in the snow, you’re likely to get wet, which means your bag will too. We recommend choosing a model that offers some water resistance or protection, at the very least. For example, the Lowepro Whisler BP 450 AW II mentioned above has a detachable weather cover, while the F-Stop Tilopa uses a reinforced base to defend against wet surfaces. If you’re eyeing a bag with little to no weatherproofing, it’s worth investing in a separate rain or snow cover.
Back panel access is another helpful feature for a winter camera bag—you can easily lay the bag down on the snow and access your gear without expositing it to the elements. Just place the front end down on a flat surface and you’ve got a fairly safe work area to take out and move around equipment. While your camera will inevitably get a little moisture on it if it’s actively snowing, this is easy to mitigate if you plan ahead and bring a small tarp, plastic garbage bag, or ziploc. And regardless of what you use to house your camera, make sure to bring along microfiber cloths and even a small dry towel to wipe down equipment. .jpg)
Moisture is one of the biggest challenges to photographing in winter—it can quickly bring your shoot to a halt if managed improperly. That said, it’s also fairly easy to mitigate if you have the right tools and knowledge. Most often, the culprit is rapidly changing temperature. Photographers—or any sane person, really—will often go inside a lodge or car to warm up after spending time out in the cold. However, this abrupt temperature shift will create condensation on the camera’s lens—and occasionally the sensor—that will last for hours and make taking photos virtually impossible. The best way to prevent this moisture build-up is to acclimate your camera ahead of time. In other words, if you’re headed from warm to cold, let your camera sit inside the camera bag outdoors for about 15 minutes before taking it out and turning it on. Same goes if you plan to shoot indoors but have been lingering in the cold all day—and don’t forget to leave the lens cap on..jpg)
While it’s best to simply avoid taking your cold camera immediately into a warm environment and vice versa, we know that’s not always possible. If you’re unable to leave your camera in a cold car or a warmed hut before shooting, you can try using a large Ziploc bag—simply put the camera inside and make sure the seal is airtight. When you head indoors, the condensation will collect on the outside of the plastic rather than parts of your camera. Wait until your camera has reached room temperature before opening the bag, but once it does, use a dust-removal tool (like a Giottos Rocket Air Blaster) and a microfiber towel to get rid of any moisture that crept its way in.
Once you’ve finished shooting for the day and you’re ready to bring your camera inside, you can use the same Ziploc trick, or wrap your camera in a dry towel and let it sit until it’s reached room temperature. Then, be sure to wipe off any remaining moisture before putting your camera back into its bag. You’ll also want to ensure your camera bag has totally dried out before putting your camera inside, otherwise moisture can make its way into the camera and cause future problems. The best way we’ve found to do this (other than by hand) is by keeping a few fresh silica gel packets in our bag, which impressively absorb any lingering moisture.
Cold weather is a death sentence for camera batteries. Freezing temperatures quickly drain the batteries’ charge, irrevocably rendering them useless until you’re able to recharge. While one option is carrying a few spares, the best way to extend battery life is to keep them warm to begin with. If you plan to sleep outside, make sure to bring your batteries with you into your sleeping bag. Even better, store the batteries in an insulated pocket close to your body. Regardless of where they’re placed, the main goal is to have the batteries as close to your body heat (i.e., your skin) as possible, and ensure that there’s added insulation between battery and cold air..jpg)
Once you’re out in the field, it’s important to remember not to leave your battery in your camera when you’re not actively shooting. While it won’t drain as quickly as if it were totally exposed, the extreme cold will deplete the battery faster than usual. It’s best practice to remove the battery once you’ve finished actively photographing—or even when moving from scene to scene—and place it in an insulated pocket.
Most of us will never find ourselves in arctic temperatures, but many photographers will venture into the alpine. In these more severe conditions and below-zero temps, you might need to ramp up your battery strategy, as an insulated pocket won’t be enough protection from the elements or cold. One of the best methods we’ve found is taping hand warmers to our batteries—they’re relatively inexpensive and you’ll likely need some for your fingers and toes, anyways. You’ll still want to stuff this bundle into your pocket to keep the hand warmers activated, but it’ll create a protective barrier around your batteries that will significantly boost their lifespan..jpg)
Winter poses some of the most challenging conditions for shooting—not just because of the weather, but also because the bright snow environment makes it difficult to perfect exposure and color. If you’ve ever attempted shooting in winter and walked away with very blue or grey images, you know what we mean. Often, the issue is easily explained: shooting in an automatic mode like aperture or shutter priority just doesn’t cut it. In these automatic modes, your camera is instinctively analyzing the scene and making adjustments accordingly, but it doesn’t know to interpret all the white in the scene as snow—instead, it reads it as overexposure. This causes the camera to dial back the aperture or shutter speed, resulting in a drastically underexposed photo. If you’re using one of these auto modes, dial up the exposure compensation by a stop or two to brighten up the image, or adjust the white balance (see our section on white balance below)..jpg)
That said, the best way to avoid the issue altogether is to shoot in manual mode. In manual, you can adjust your settings on your own and place the exposure exactly where you want it, rather than relying on the camera to interpret its surroundings. In this case, it’s important to ensure you’re using your histogram rather than just eyeballing it—remember, white snow is incredibly reflective and will be bouncing light all over the scene. You can use this bounce to your advantage to fill in shadows, which is one of our favorite parts about winter. However, the snow’s brightness can also make it difficult to tell if an image is properly exposed on your camera. Make sure to read the data on your histogram to ensure you’re shooting with the best settings.
Another way to minimize unwanted glare and reflection is to utilize a circular polarizing filter. A polarizer helps tone the highlights down by varying the amount of polarized light that passes through, but requires a bit of practice to use properly. Balancing the image can be tough—you want to be careful you aren’t clipping highlights or shadows (although this isn’t always possible in harsh light conditions, in which case it’s often better to slightly blow out the highlights in the snow rather than underexpose the shadows). However, if done properly, a polarizer can drastically reduce glare on snow and ice. As a final note, it is helpful to consider how the polarizer attaches—those that slide into a holder are generally easier to handle with gloves than those that screw directly onto the lens..jpg)
Typically, when set to automatically choose white balance, cameras will make snowy scenes appear overly blue. The best way to compensate for this effect is by adjusting your white balance mode to mellow out the blues and introduce some warmth. You’ll likely have to change this as the scene and weather changes—there isn’t one mode that works for every snowy scenario (we generally use either the “flash” or “daylight” setting). Alternatively, the white balance can be fixed in post-processing, but you’ll want to ensure you’re shooting in RAW and not JPEG mode—this way, you’ll have the freedom to edit your photo as much as you want without damaging the image. If you find mid-editing that you can’t warm your image enough to balance the blues without making it look overly yellow, you can always desaturate the blues a bit—just make sure you’re not removing too much blue, otherwise the snow starts to look fake. As with everything in photography, practice makes perfect when learning to master these adjustments..jpg)
This one might seem like a no-brainer, but if the goal is capturing the pristine shimmer and untouched beauty of winter, you’ll need to avoid footsteps in your frame—whether created by you or others. But capturing unbroken snow isn’t quite as easy as it sounds. Typically, this requires careful planning to ensure that you’re the first one on-scene after a storm, which means getting up early to beat the powder hounds and fellow photographers, especially in popular areas. Another related caution: be careful how you approach the spot you’re shooting; it’s surprisingly easy to accidentally step into a frame. You will usually have to take a less direct, more circumnavigational route to your intended position. While a few footsteps can most likely be removed during the editing process, trying to completely rebuild a foreground in post-processing can be a nightmare. It’s best to avoid the hassle altogether.
Some of our favorite shots in winter include snowfall, but it can be tricky to perfectly capture the moving flakes. Focus and shutter speed are key. Depending on your goal with the final image, you can either shoot with a fast or slow shutter speed. A faster shutter will freeze snowflakes in the frame, making it easy to see the individual flakes. A slower shutter, on the other hand, will blur the snowflakes and create a bit of a white fog throughout the frame—an effective technique if you’re after a slightly more abstract image. .jpg)
During especially heavy snowfall, it can be difficult for your camera’s autofocus to adjust properly. Your camera relies on contrast to focus, but with white flakes monopolizing the frame, the contrast is drastically reduced. In these cases, you can either try using spot focusing and grab focus on the highest contrast point of an image before recomposing, or you can simply use manual focus to dial in sharpness.
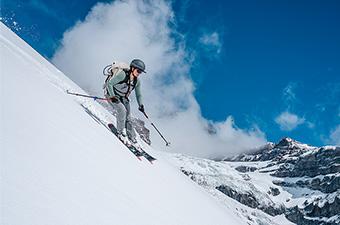
Finally, if you’re shooting a moving object—like a skier—you’ll have to be extra patient if it’s snowing. It’ll probably take a few laps before you nail the photo, so make sure you set realistic expectations ahead of time with your client or friend. If you’ve spent all day skinning up for only one shot at the descent, your best bet is to anticipate where the skier will be in the frame, manually set your focus on that spot, and time it so that you take the photo right as they hit. A gamble? Yes. Worth it? Also yes.
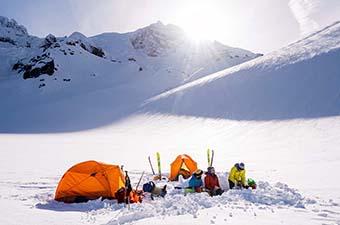
We’d be remiss not to remind readers of the inherent dangers that come with being outdoors in the winter. While it’s easily one of the most beautiful times of the year, it can also be one of the most threatening. Freezing temperatures, shorter days, and terrain hazards like avalanches can catch even prepared adventurers off guard. That said, there are ways to prepare and heavily mitigate risk..jpg)
In winter, it often takes us twice as long (or more) to cover the same mileage as we do on dry trails. Unless you plan on heading out on a snowmobile or other motorized vehicle, you’ll be limited to skis, snowshoes, or plain boots if the terrain allows—all of which will slow you down significantly in powder. Be sure to factor this in when planning your day, and remember that the sun sets much earlier in winter. As a precaution, we always carry a headlamp with us on day hikes (during all seasons, but especially important to remember in winter). .jpg)
Operating a camera requires dexterity, which means that it can’t be done with burly gloves. This poses a conundrum for photographers, and oftentimes there’s simply no way around cold hands. Many photographers will go sans gloves, while others will choose a lightweight liner or fingerless glove to protect their hands from the cold. Many liners are now made with touchscreen compatibility, and a few photography-specific gloves are made with flaps on just the thumb and index finger (check out the Vallerret Photography Gloves Ipsoot). We’ll also bring a pair of waterproof and insulating mittens to keep our hands warm between shots. And we always recommend bringing multiple hand warmers to warm up your digits in between shots, in addition to a hot water bottle inside your jacket on extra cold days. A large part of successful winter photography is managing your body temperature, so don’t be dismayed if you’re spending more time keeping yourself warm than you’re used to. After all, if your finger is too numb to press the shutter, you won’t be taking any photos at all.
Layering is key in winter, and you’ll want to have the proper attire to keep you comfortable no matter what the day has in store. Photographers especially will want to make sure to pack a variety of warm layers, as much of their craft demands that they stand still for long periods of time. On cold winter days, we always sport a baselayer, midlayer, and outer layer. As far as baselayers go, you’ll need a fabric that insulates your body’s heat and wicks sweat effectively—merino wool and polyester are the most common options. Your choice of midlayer will really depend on the conditions. Is it bristling cold and dry? Grab your down jacket. Is it a slushy, warm mess? Then a lightweight fleece or synthetic jacket will do the trick. As far as outerwear goes, we always grab a hardshell for protection against wind and snow. Especially as a photographer, you’ll want to take the time to pack responsibly so once in the field, you can just focus on getting the shot. .jpg)
Winter conditions can be extremely unpredictable, with bluebird days sometimes turning to total whiteouts in a matter of minutes. Check local forecasts ahead of time—we stay up-to-date via NOAA and Mountain Weather, pinpointing various locations for exact conditions. But arguably even more dangerous than rapidly changing conditions are avalanches. For those planning to travel into mountainous terrain with slopes greater than 30 degrees, it’s important to be equipped with a beacon, shovel, and probe—but even more important than gear is training, practice, and self-awareness. Winter can be a wonderful time to recreate, but it can also be very dangerous if you don’t have an understanding of current snowpack conditions and the slopes you plan to ski and traverse. In addition, we strongly recommend taking an avalanche course (Level 1 at the least) from a reputable organization like AIARE, which offers country-wide classes throughout the winter and early spring.