
Photo Credit
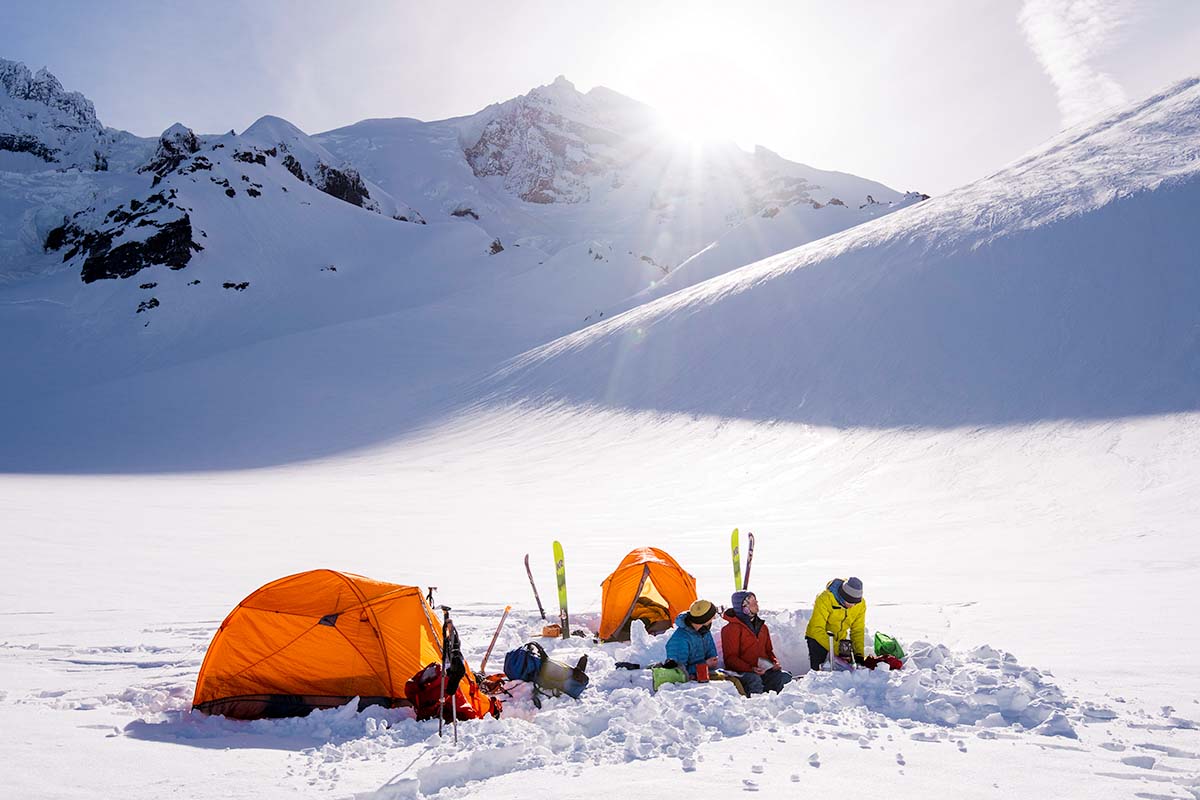
Whether you're planning a week-long expedition or camping for a single night, having the right camping equipment for winter is crucial. Snow-covered landscapes can be magically enticing, but trips quickly can turn dangerous—or uncomfortable at the very least—if you’re not adequately prepared. Our detailed checklist below covers critical winter camping equipment like tents and sleeping bags, cold-weather clothing, winter travel and avalanche safety gear, health and hygiene necessities, and personal items and extras you won't want to forget. For more information on each product category, many of the headings link to our category round-ups, which are the result of years of testing and opinions. For all of our recommendations in one place, see our detailed ski gear and winter gear reviews.
| Winter Camping Equipment | Cold-Weather Clothing | Winter Travel & Avy Safety Gear | Health & Hygiene | Personal Items & Extras |
|---|---|---|---|---|
|
❒ 4-season tent ❒ Cold-weather sleeping bag ❒ Insulated sleeping pad ❒ Stove and fuel ❒ Headlamp
Optional: ❒ Foam sleeping pad ❒ Sleeping bag liner ❒ Pillow ❒ Tent footprint/ground cloth ❒ Extra stakes and guylines ❒ Pack liner or waterproof stuff sacks |
❒ Heavyweight down or synthetic jacket ❒ Hardshell or ski jacket ❒ Hardshell, softshell, or ski pants ❒ Baselayers ❒ Midlayer ❒ Gloves ❒ Warm socks ❒ Sunglasses and goggles
Accessories & Optional: ❒ Beanie or headband ❒ Liner gloves ❒ Long underwear ❒ Insulated pants ❒ Extra socks ❒ Down booties ❒ Gaiters ❒ Balaclava or neck gaiter |
❒ Backcountry skis, splitboard, or snowshoes ❒ Climbing skins ❒ Backcountry ski or mountaineering boots ❒ Backpack or sled ❒ Poles ❒ Avalanche beacon ❒ Probe ❒ Shovel ❒ Navigation
Accessories & Optional: ❒ Daypack or ski pack ❒ Slope meter ❒ Snow saw ❒ Crampons ❒ Ice axe ❒ Compass ❒ Waterproof map/guidebook photos ❒ Satellite messenger ❒ Backcountry radios ❒ Binoculars |
❒ Toothbrush ❒ Toothpaste ❒ Toilet paper/baby wipes ❒ Hand sanitizer ❒ Deodorant ❒ Personal medications ❒ SPF-rated balm ❒ Sunscreen ❒ First aid kit
|
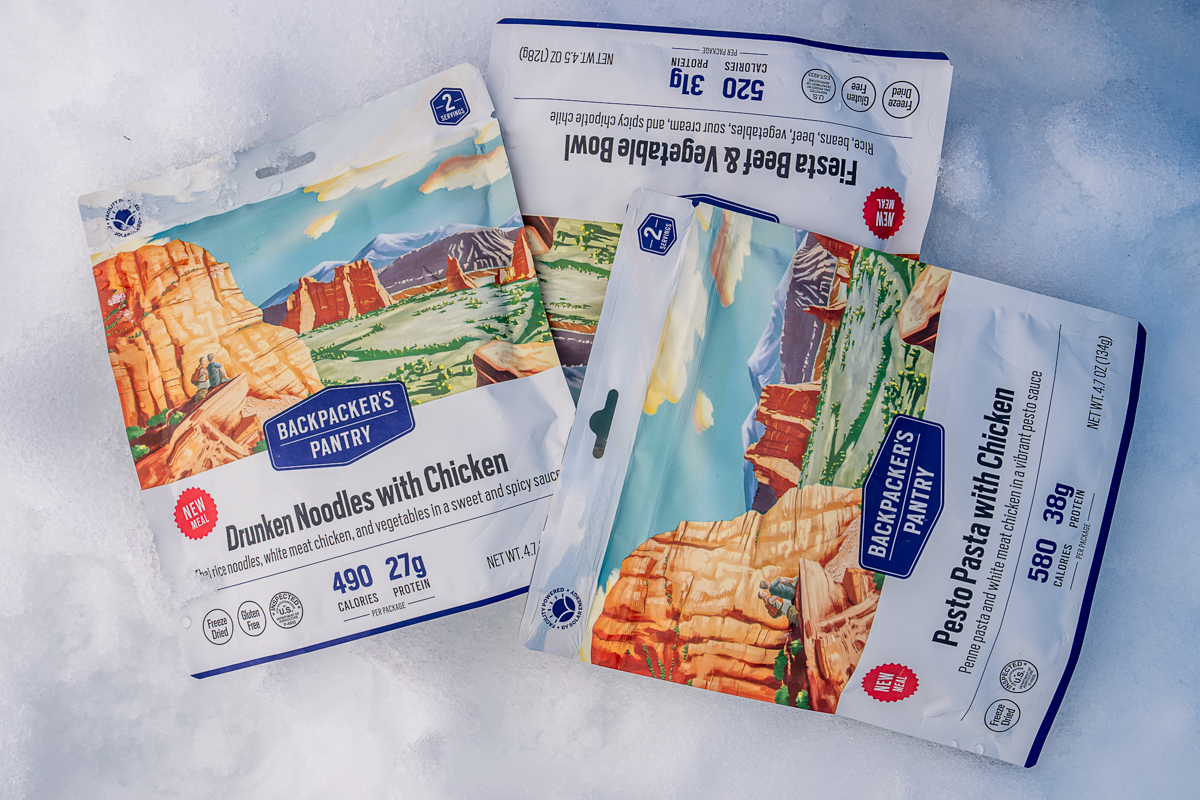
❒ Food ❒ Cookware ❒ Coffee, tea, hot chocolate, etc. ❒ Water bottles ❒ Thermos ❒ Animal-resistant food storage ❒ Camera ❒ Non-metal spoon ❒ Disposable hand wamers ❒ Lighters/waterproof matches ❒ Knife or multi-tool ❒ Whistle ❒ Basic repair kit ❒ Cell phone w/ charger ❒ Power bank ❒ Extra batteries ❒ Notebook and pencil ❒ Ziploc bags ❒ Moleskin ❒ ID, cards, cash ❒ Permit or park pass |
Editor's note: The table above provides a brief overview of what you'll need to get outside, but our full PDF version is printable and offers a more comprehensive breakdown of the necessities and nice-to-haves.
See Our Winter Camping PDF
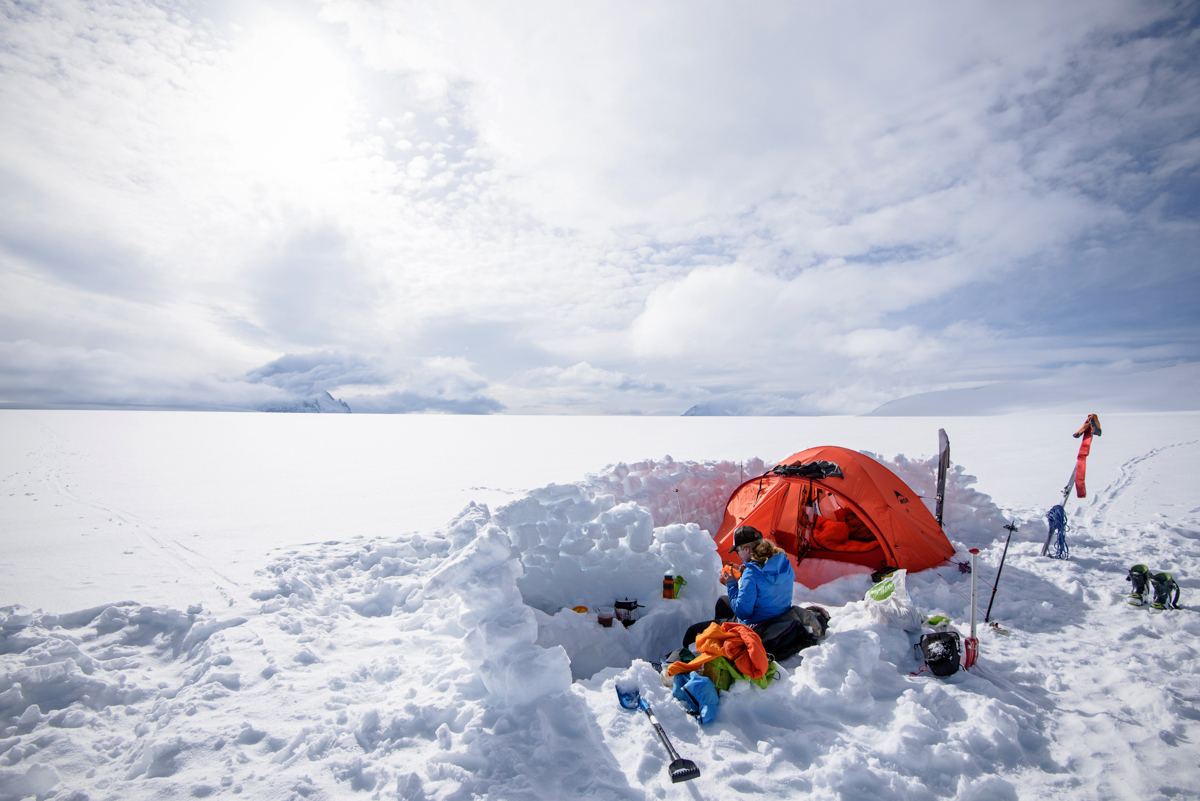
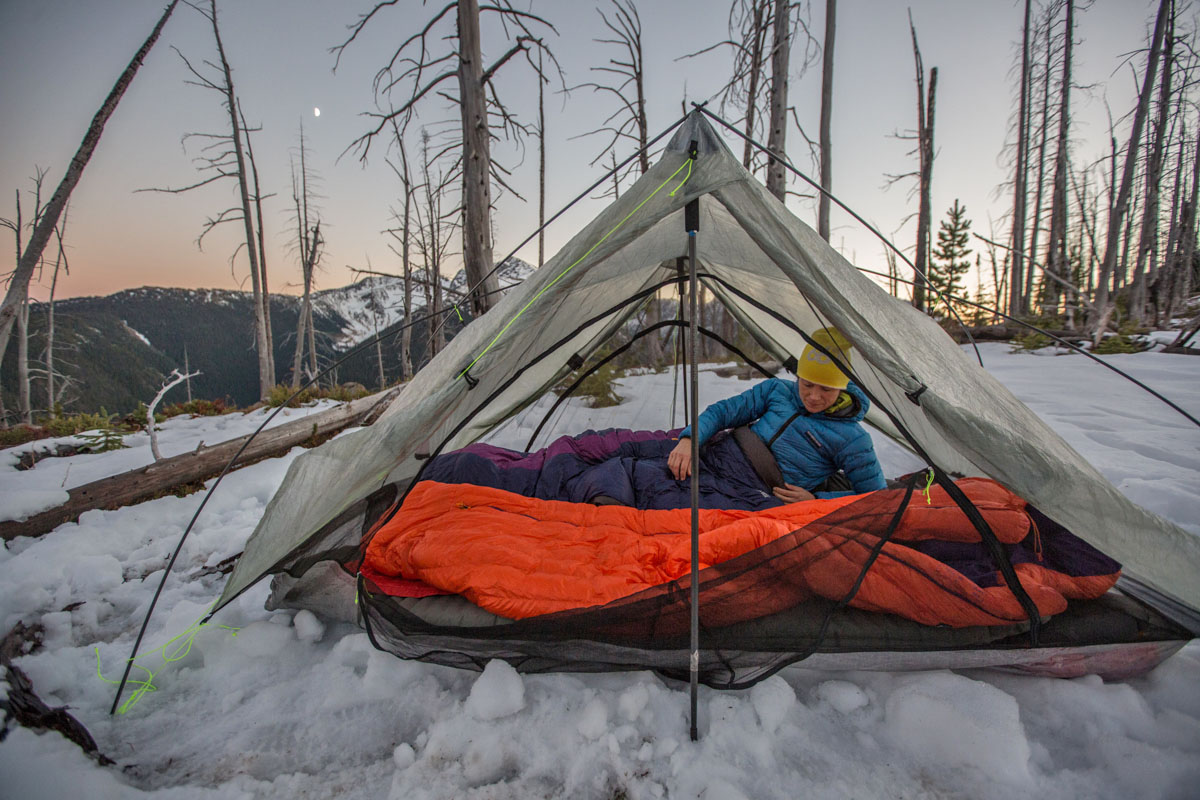
When spending nights outside in the winter, the main goal is to stay dry and warm. The best way to do this is to invest in gear that's effective at keeping the cold and wet at bay. Below is what we recommend bringing on every trip to comfortably spend days and nights outdoors in the cold. We've also included a handful of optional items that may or may not be worth packing depending on your preferences and objective(s).
Our top pick: Mountain Hardwear Trango 2 ($900)
What we like: Tough build, great livability, and one of the most reliable options available.
What we don’t: Heavy, pricey, and decidedly overkill for even shoulder-season camping.
*Editor’s note: Many winter campers also bring along a basecamp shelter like the Black Diamond Mega Snow for use as a camp kitchen/hangout space.
Our top pick: Mountain Hardwear Phantom 0F ($680)
What we like: Premium down insulation and effective heat-trapping features.
What we don’t: If you're worried about moisture, it's worth spending up for a bag like the Feathered Friends Snowbunting ES, which features a water-resistant shell.
Our top pick: Therm-a-Rest NeoAir XTherm NXT ($240)
What we like: High R-value for below-freezing conditions but still competitively light.
What we don’t: Pricey and overbuilt for non-winter use.
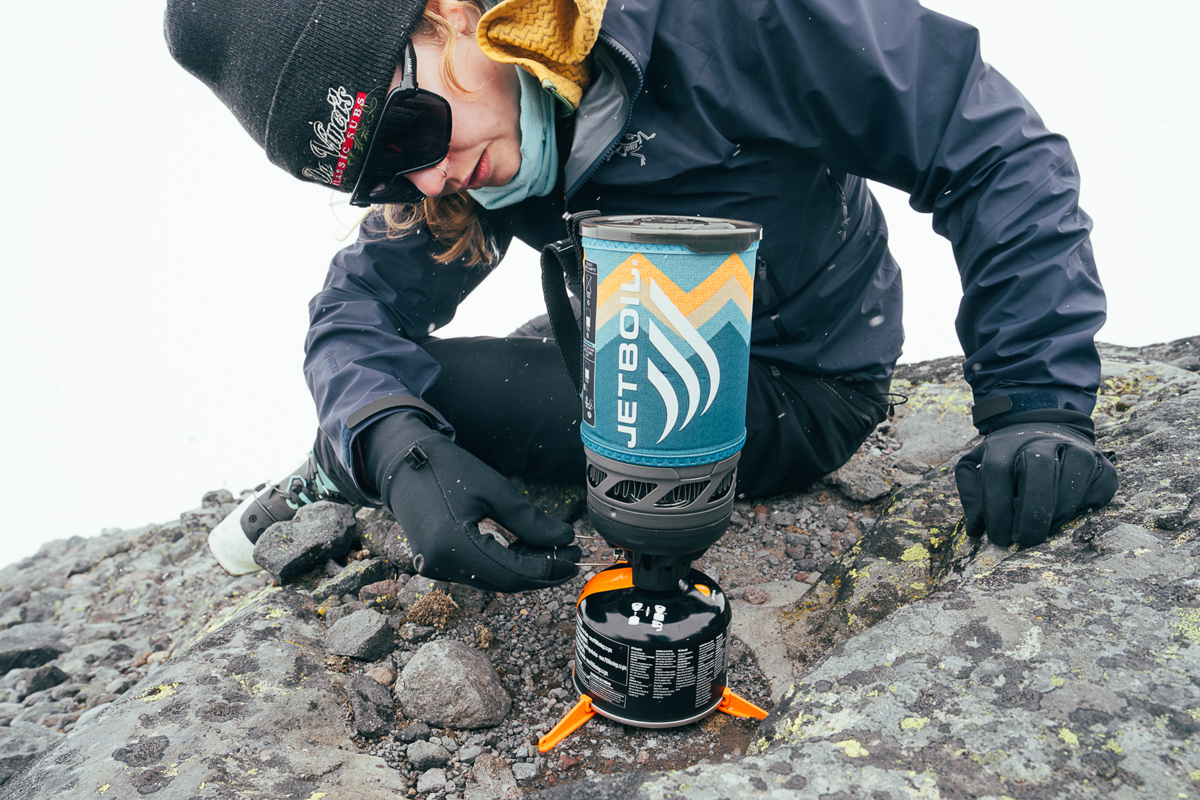
Our top pick: MSR WindBurner ($190)
What we like: Enclosed burner brings water to a boil quickly, even in gusty conditions.
What we don’t: Expensive and no built-in igniter; MSR's Reactor is better for melting snow.
Our top pick: Petzl Actik Core ($85)
What we like: Reliable, bright, and compatible with both rechargeable and AAA batteries.
What we don’t: Some find the battery difficult to access and swap out.
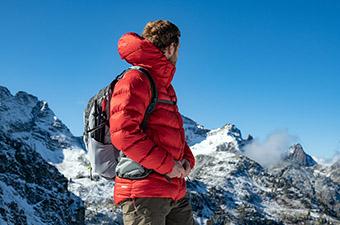
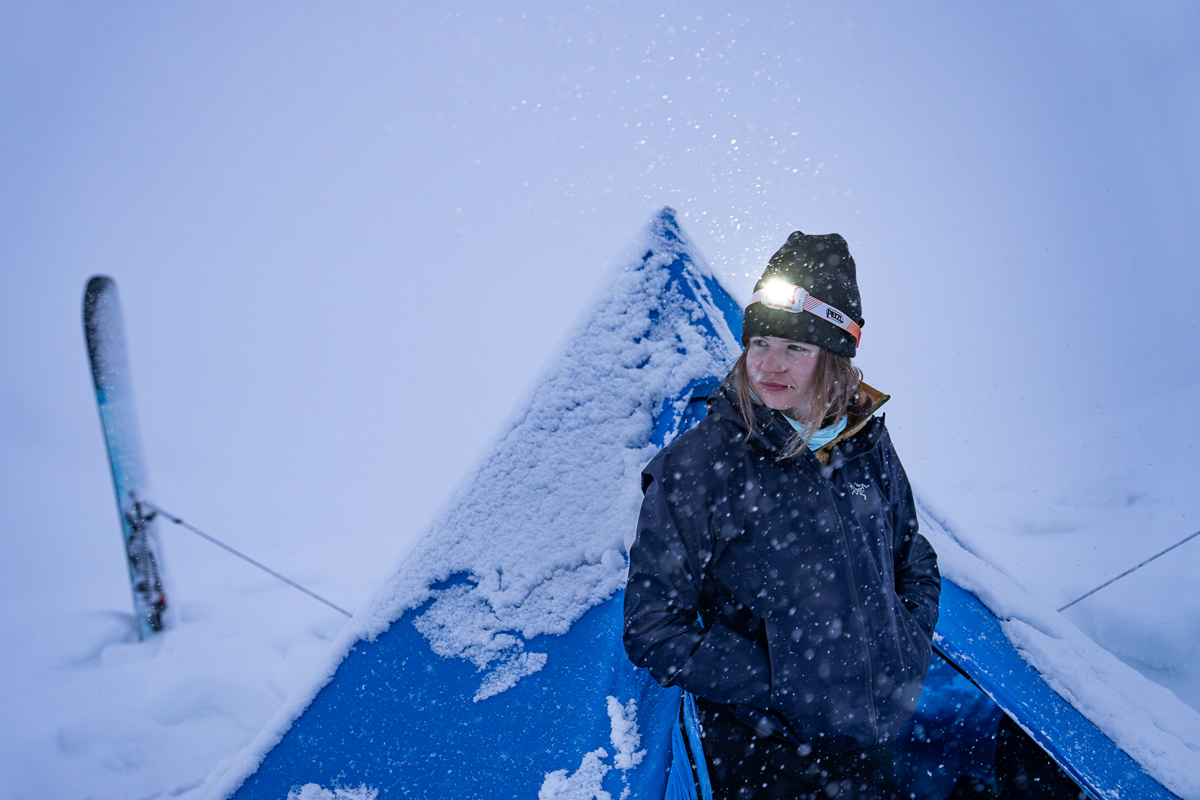
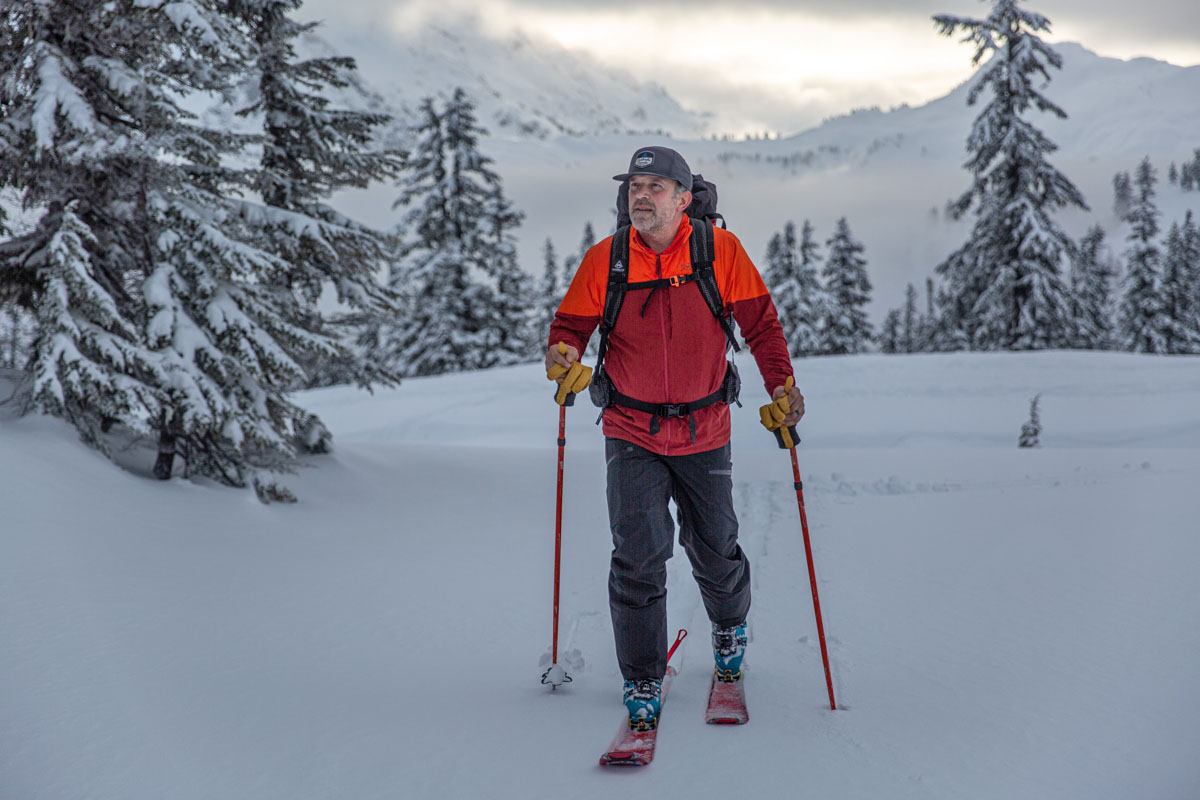
What you wear is always critical in the outdoors, but that's even more true in frigid conditions. You’ll pay more for winter-ready warmth and protection, but the pieces below are exceptionally well made and should last you seasons to come (provided you take proper care of them). And don’t skimp on the accessories—quality socks, gloves, and hats can go a long way toward keeping you comfortable when the mercury drops.
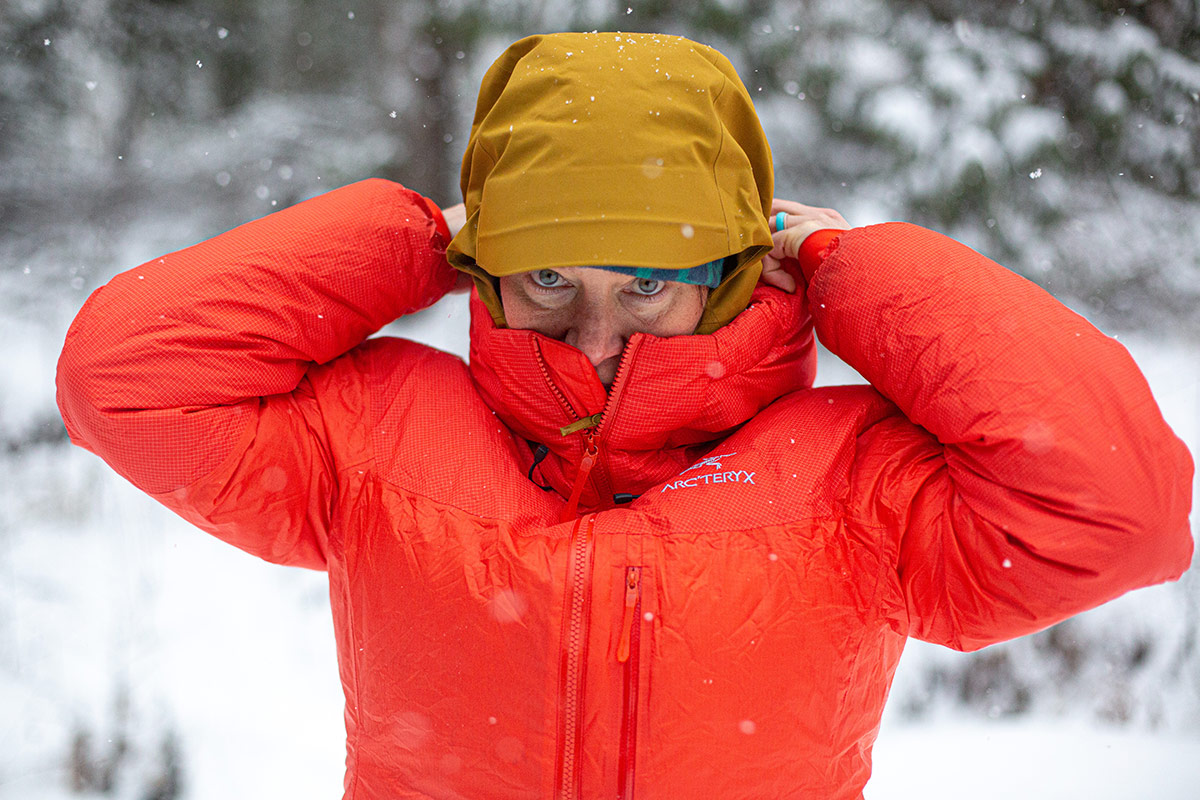
Our top pick: Rab Neutrino Pro ($400)
What we like: Remarkably warm for the weight and reasonably priced for the level of performance.
What we don’t: Fairly heavy and bulky; synthetic alternatives like the Patagonia DAS Parka are more reliable in the wet (down loses its insulating abilities).
Our top pick: Arc’teryx Beta AR Jacket ($600)
What we like: Extremely well rounded and plenty tough to withstand brutal alpine conditions.
What we don’t: Arc’teryx gear doesn’t come cheap; not ideal for fast-and-light missions.
Our top pick: Arc’teryx Sabre Pant ($600)
What we like: Top-notch protection and durability in a sleek package.
What we don’t: Softshell pants are much more comfortable and breathable (at the sacrifice of weatherproofing).
Our top pick: Smartwool Classic Thermal Merino 1/4-Zip ($120)
What we like: Extremely soft, warm, and wicks moisture to an impressive degree.
What we don’t: Requires good care to last; Smartwool's Intraknit Thermal is the better match for active uses (like skinning) when you'll be working up a sweat.

Our top pick: Arc’teryx Atom Jacket ($280)
What we like: Hard-to-beat combination of warmth, breathability, and comfort.
What we don’t: You can get more warmth for less weight with a down jacket.
Our top pick: Black Diamond Guide Gloves ($180)
What we like: Well insulated, hardwearing, and comfortable.
What we don’t: Takes some time to break in; below-average dexterity.
Our top pick: Smartwool Ski Full Cushion OTC ($31)
What we like: Plush warmth and high dose of merino (63%) for wicking moisture and fending off stink.
What we don’t: If your boots are already snug, we recommend stepping down to the thinner Targeted Cushion OTC.
Our top pick: Smith I/O Mag ChromaPop ($275)
What we like: Class-leading optics and quick lens-change system for shifting conditions.
What we don’t: Pricey and can fog up during extended exertion.
*Editor’s note: Snow blindness (i.e., sunburn on your eyes) is a major concern in winter, especially at altitude. For the best protection and coverage, we recommend bringing a pair of performance-oriented sunglasses or glacier goggles, which will vent better than ski goggles on the uphill.
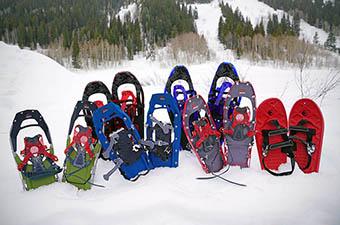
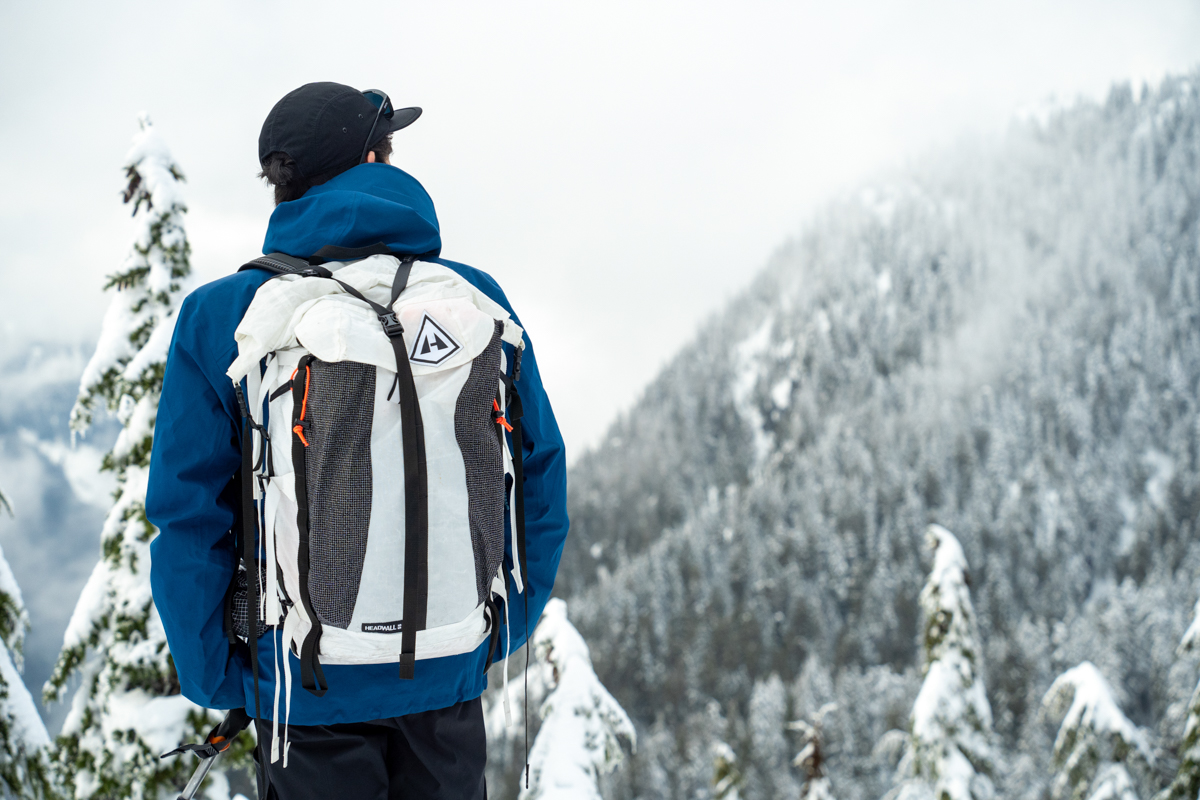
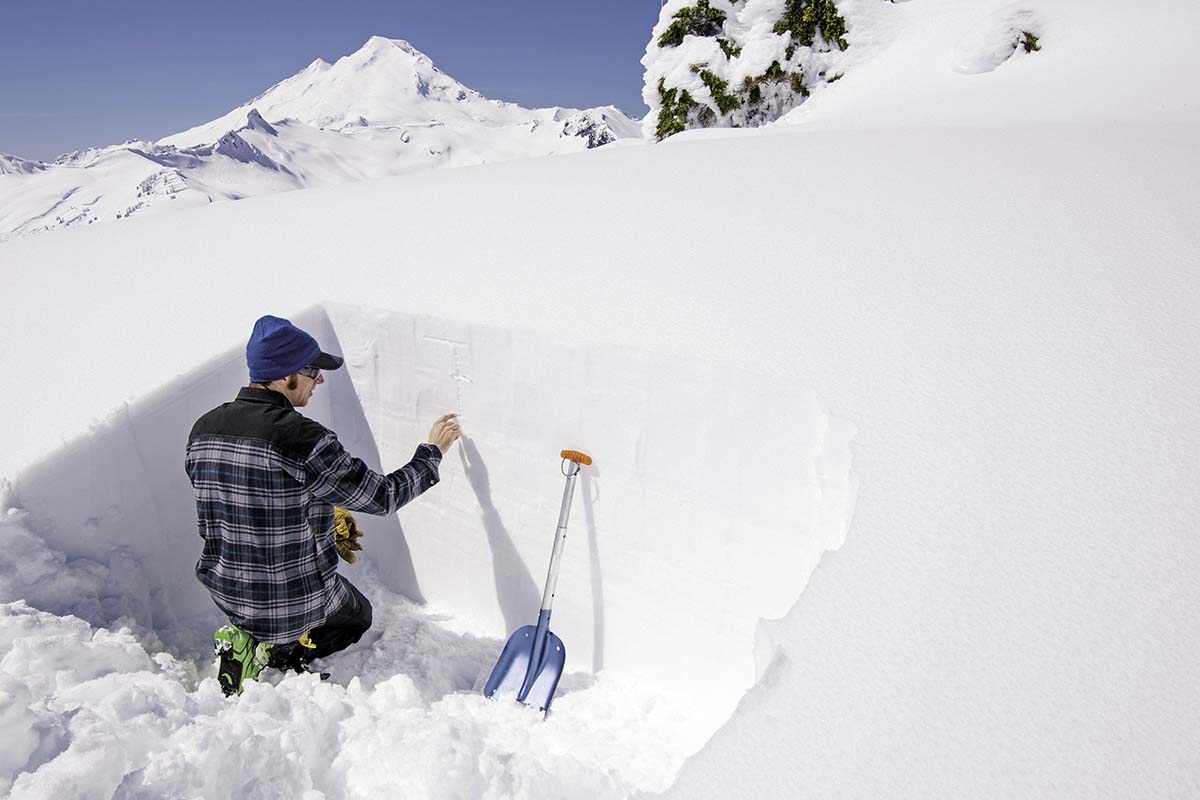
You won’t be getting very far from the trailhead without a quality pair of skis, snowshoes, or a splitboard to plow through the deep stuff. And once you have those, you'll likely need accessories like climbing skins (if you opt for skis or a splitboard), poles, boots, and a pack or sled to haul everything to your campsite. Finally, if you’ll be crossing any avalanche terrain on your route, you’ll need to bring along a beacon, shovel, and probe—after the proper training, of course.
Our top pick: Blizzard Zero G 105 ($900)
What we like: Efficient on the uphill and fun on the descent.
What we don’t: Underbuilt for serious, big-mountain objectives; not the most nimble design.
Our top pick: Pomoca Tour Pro ($230-$260)
What we like: Near-optimal balance of glide, grip, adhesion, and packability.
What we don’t: Not as long-lasting as 100%-nylon designs like Black Diamond's Ascension.
Our top pick: Scarpa Maestrale RS ($949)
What we like: Well-rounded performance for both climbing and descending.
What we don’t: Not burly enough to cross over well for frequent resort use.
Our top pick: Black Diamond Cirque 50 ($260)
What we like: Generously sized with lots of winter-specific features.
What we don’t: A sled will be less strenuous as the miles add up.
Editor’s note: For multi-day trips, we love the combination of a sled and duffel. If you go this route, we recommend bringing along a small daypack or ski backpack for easy access to water, snacks, a warm layer, and avalanche gear.
Our top pick: MSR DynaLock Ascent Carbon ($190)
What we like: 4-season versatility and notably tough for a carbon design.
What we don’t: Not intended for ski touring (for that, we turn to Black Diamond’s Traverse).
Our top pick: Backcountry Access Tracker3 ($350)
What we like: A time-tested design with an intuitive interface.
What we don’t: No Bluetooth connectivity; battery life and range fall short of more advanced designs.
Our top pick: Black Diamond QuickDraw Pro 240 ($70)
What we like: Lightweight, easy to deploy, and very readable depth markings.
What we don’t: Shorter than the 280 and 320 variations, which will run you additional $10 to $60.
Our top pick: Black Diamond Transfer ($65)
What we like: Sturdy and packs down reasonably small.
What we don’t: Spending up will get you a more comfortable handle and even better packability.
Our top pick: Gaia GPS (app)
What we like: Easy-to-use interface with the option to clearly highlight slope angle.
What we don’t: Monthly subscription required for offline access and many advanced features, including slope shading.
We’d categorize winter camping as “type 2” fun: not always enjoyable while you’re doing it but worthwhile after the fact. Whether you’re a seasoned pro or just dipping your toes, maintaining a good hygiene routine can help make the experience more comfortable. We consider the items below the bare necessities for staying clean and comfortable in the backcountry. And make sure to bring the appropriate sun protection, too—the sun’s rays can be especially powerful when reflecting off snow.
Our list above covers the essentials, but we have a few more suggestions for your winter camping setup. Some are for more technical adventures, while others just make us a bit more comfortable in otherwise extreme conditions. Don’t forget these bits and pieces before you set off on your snow-packed adventure.
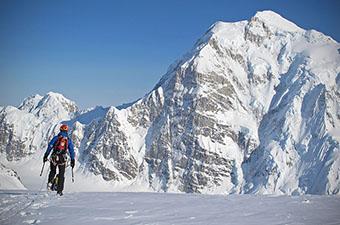
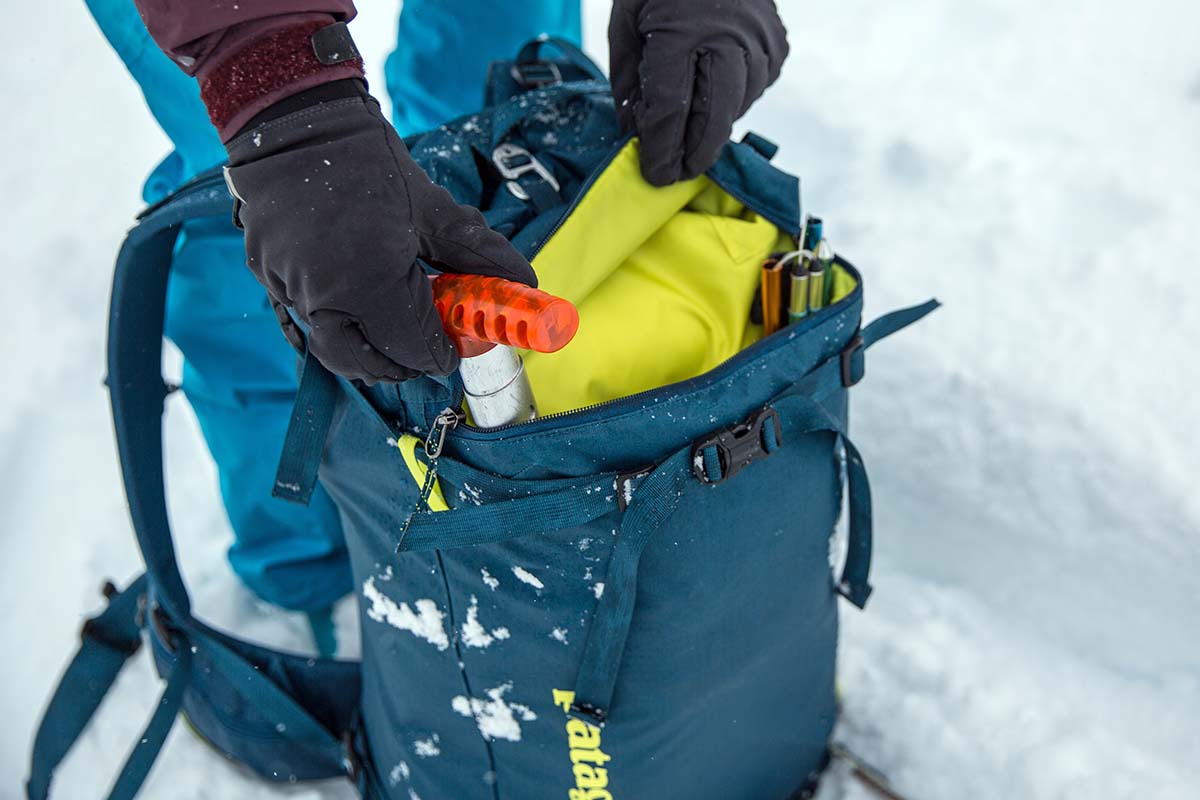
If you’re traveling into the mountains where there will be slopes greater than 30 degrees (you can use an inclinometer to check), avalanche safety gear is a necessity. The three most vital pieces of equipment for keeping yourself and your friends safe are a beacon, shovel, and probe (more on these above). Many serious backcountry-goers also opt to bring along an airbag backpack with an airbag that will keep them afloat in the unfortunate event that they’re caught in an avalanche. And of course, the gear is useless without proper training, so we always advise taking at least a level 1 avalanche course—and practice, practice, practice—before venturing into avy-prone terrain. AIARE offers classes nationwide throughout the winter and early spring.
For both winter and summer outdoor activities, we do much of our gear shopping at REI Co-op. The selection is excellent, the staff generally are knowledgeable, and you get the brick-and-mortar bonus of more than 180 stores around the country. In the winter months, we often turn to websites like Evo and Backcountry for their larger inventories of winter camping and ski gear. Evo.com offers free shipping on orders over $50 and has a great online selection of skis, bindings, avalanche beacons, and more, not to mention discounts on last year’s items. Backcountry.com has free two-day shipping on orders over $50 and a solid selection overall, especially when it comes to certain brands that you will have trouble finding elsewhere. And last but not least, we always support buying gear at your local shop. It’s a great way to support the community, get information about your trip, and try things on in-person.
See Our Winter Gear Reviews See Our Ski Gear Reviews