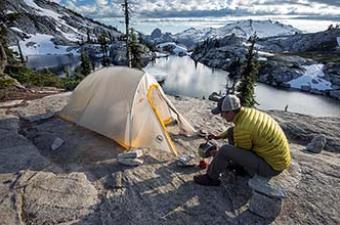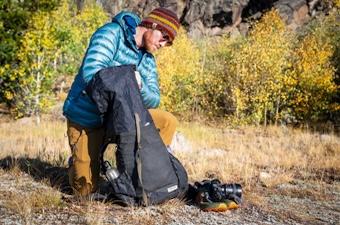
Photo Credit
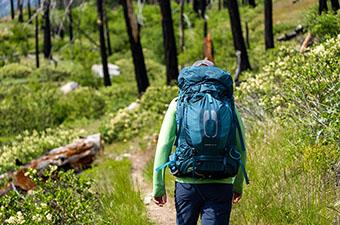
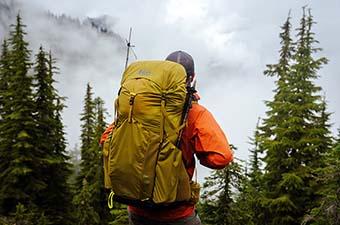
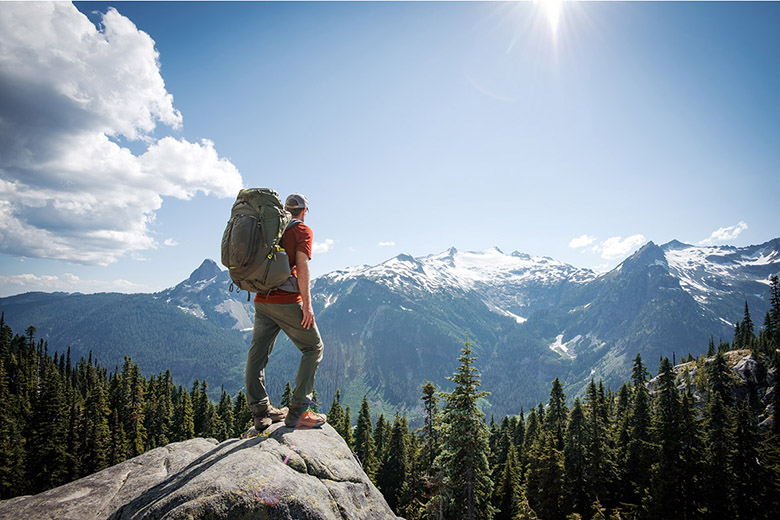
Your pack is arguably the most important piece of gear in your backpacking kit, and a proper (or improper) fit can make or break your time spent in the backcountry. It all starts with nailing the size, which can then be adjusted and fine-tuned to hug your body. Luckily, the editors at Switchback Travel are no strangers to hauling full packs around for days on end, from streamlined ultralight designs on multi-state thru-hikes to comfort-first heavy haulers on gear-intensive missions. Below we outline what you need to know when sizing and fitting your backpack, as well as product recommendations based on our extensive testing in the field. For all of our top picks, check out our articles on the best backpacking packs, best women's backpacking packs, and best ultralight backpacks.
Editor's note: We updated this article on August 18, 2024, to ensure all information was current at the time of publishing This involved revising several product references and incorporating newer photos from testing. We also added a section on fitting ultralight backpacks and included some of our top picks at the end.
To take your measurements, you’ll need soft measuring tape (or string and a ruler) and a buddy. The first step is identifying two features on your body: your C7 vertebrae and your iliac crest. To find your C7, bend your head forward and feel for the first major bump at the base of your neck. For your iliac crest, put your hands on your hips and draw an imaginary line across your back from hip to hip—this is the midpoint along your iliac crest. Then, measure the distance between your C7 and the midpoint of your iliac crest. This is your torso length. For a video walkthrough of the process, we've found this video from REI Co-op helpful.

Your torso length is the number used to determine your pack size. This can be as easy as matching number to size on the manufacturer’s sizing chart—for example, a male with a 22-inch torso length will fit a size large/extra-large Osprey Atmos AG. However, where the waters get muddy is when you’re between sizes—a 20-inch torso, for example, is listed as either a size small/medium or large/extra-large. If this is the case, we recommend trying on both sizes if possible to see which feels best. It’s also worth mentioning that some budget options are only available in one size (the Osprey Rook and Renn, for example), but these often come with a wide adjustment range in both the torso range and hipbelt.
Most pack sizes are based on torso lengths, meaning that you select the torso measurement but are stuck with the size of the accompanying hipbelt. Some packs, however, are made with interchangeable hipbelts, allowing you to select both a torso size and hipbelt size (the Gossamer Gear Mariposa is one example). If you have a particularly lanky or short and stout figure, this can be an easy way to hone in fit. To take your hip measurement, simply wrap a soft tape measure or piece of string around your waist at the top of your iliac crest. Again, if you’re between sizes, it can be a good idea to try multiple packs on.
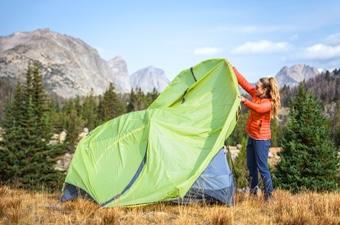
 Fitting Your Backpack
 Choosing the right size is only half the battle in obtaining an optimal fit. Every body is different, but thankfully most backpacking packs come with a range of adjustments so you can effectively dial in fit. The first step—whether you’re trying a backpack on at the store or fitting it at home—is to make sure it’s loaded down with 15 to 20 pounds to simulate a realistic load. Second, make sure all straps (hipbelt, shoulder straps, and load lifters) are loosened. Then, with the backpack on, start at the bottom and work your way up as follows:
Buckle the hipbelt and pull it tight, keeping the buckle at the middle of your waist. The wide sides of the hipbelt should be centered on your hip bones. You might have to pull it relatively tight, as most of your load (about 80%) should be on your hips rather than your shoulders.
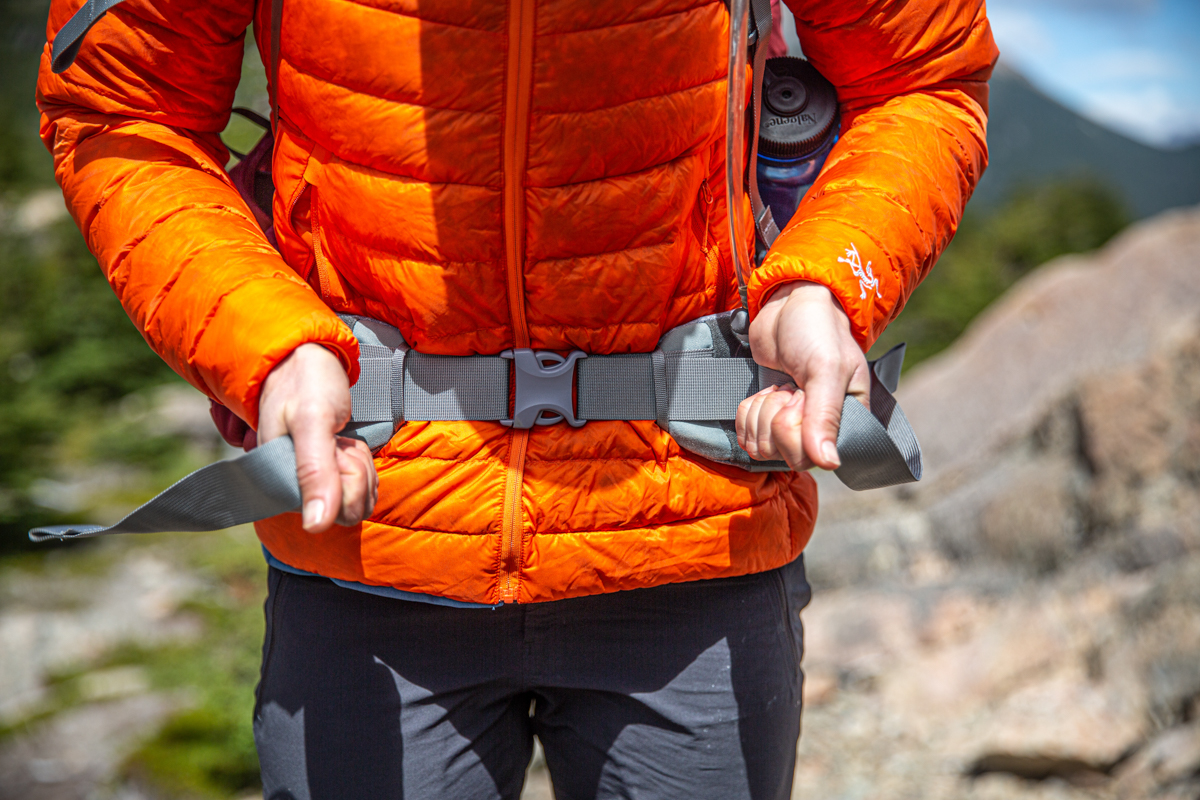
With most of the weight of the pack on your hips, lean slightly forward and give the shoulder straps one firm tug. You should now be able to stand up straight and feel about 20% of the load on your shoulders. Don’t go too tight on the first pass—you can always come back and tighten these later.
Load lifters are found where the pack connects to the shoulder straps and function to pull the weight of the pack toward your body. Once you’ve tightened your shoulder straps, reach up and give each load lifter a tug (we like doing both at once). If your pack fits well, these will come down from your pack to meet your shoulder straps at about a 45-degree angle. You’ll know if the load lifters need to be adjusted if you experience a lot of pressure on either the front (too loose) or back (too tight) of your shoulders.
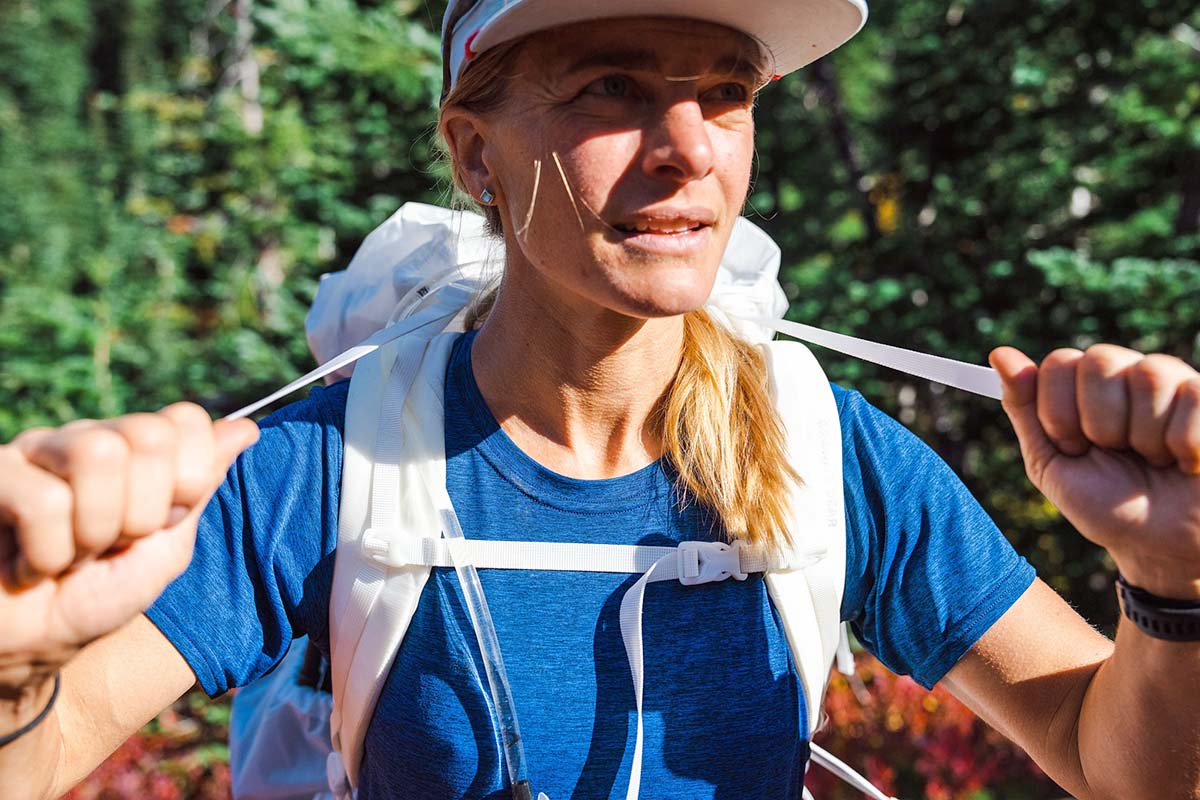
Finally, buckle your sternum strap at your chest. The purpose of the sternum strap is to keep the shoulder straps from sliding off your shoulders and assist the shoulder straps and load lifters in holding the pack snugly against your torso. You want this to be taut but not tight—it should not be pulling the shoulder straps inward.
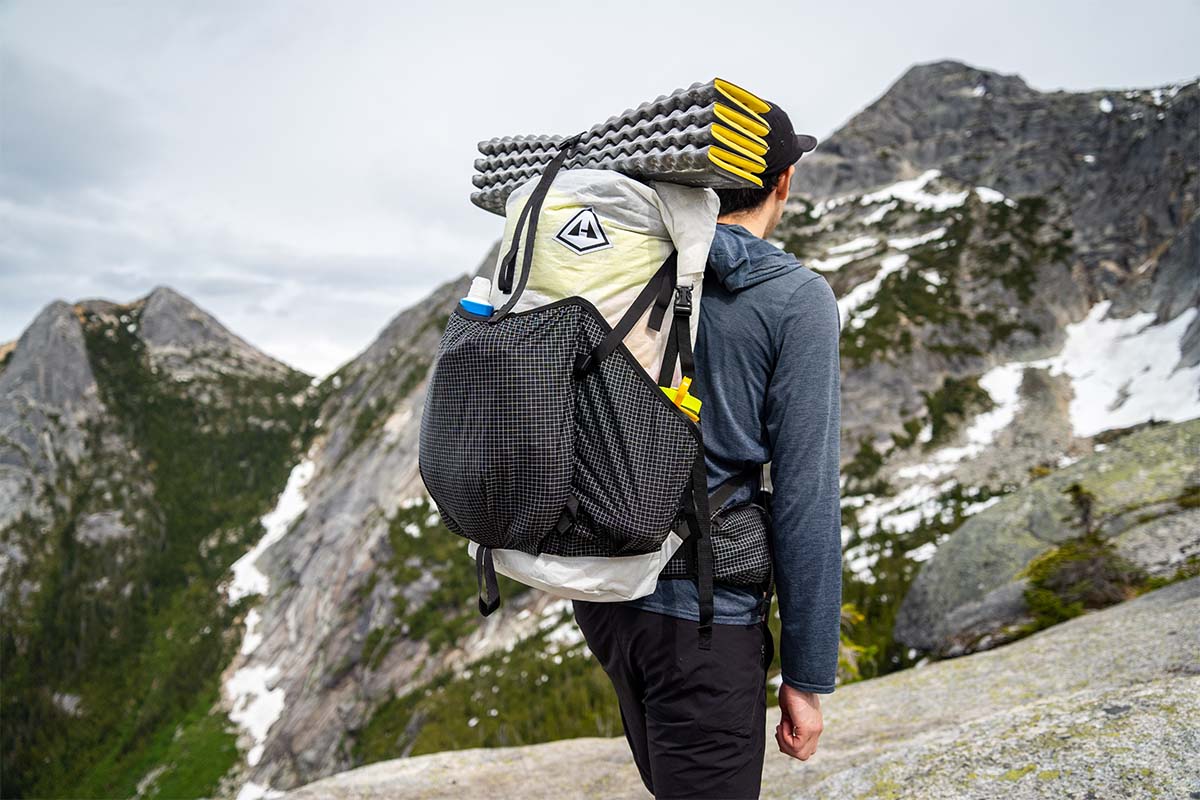
To keep weight low, many ultralight backpacks feature pared-down constructions that often minimize or streamline adjustments. For example, the Hyperlite Southwest 55 doesn't have load lifters, while the Gregory Focal 58 omits a torso adjustment system. While this can be helpful for keeping your setup light, it does make fit tougher to dial in. It doesn't help that many cottage brands sell exclusively online via their website, which means you don't have the luxury of going into a store and trying a pack on before you buy it. Of course, many companies have detailed fit guides to help you choose the correct size, but there's still a chance you'll end up needing to make a return or exchange. With that in mind, we recommend those concerned about fit stick with a readily available pack that features all of the adjustment points mentioned above.
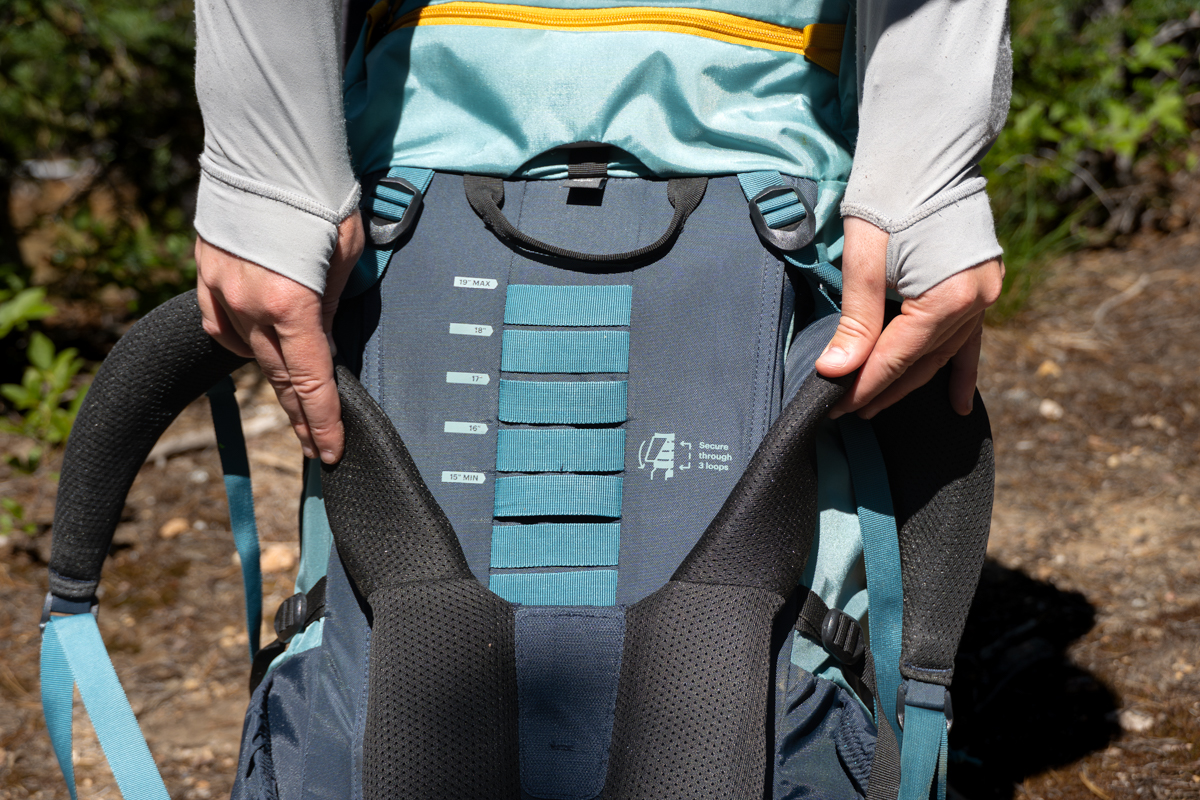
Once you’ve put your pack on and properly fit it to your body, you’ll want to see if it needs further adjustment. After all, just because you bought the right size doesn’t mean it will fit perfectly out of the box. Thankfully, most packs come with adjustable torso lengths and hipbelts that can be tweaked based on your specific body type. Granite Gear’s Blaze 60, for instance, boasts a Velcro-based system that allows you to tweak the torso length and shorten or extend the waist belt from 26 all the way up to 42 inches. Similarly, the torso adjustment system on REI's Trailmade 60 allows it to fit torsos between 17 and 21 inches (or between 15 and 19 inches for the women's version). We highly recommend buying a pack with these features, especially if you’re eyeing a one-size-fits-all pack or one without an interchangeable hipbelt.
To determine whether or not you need to shorten or lengthen your torso size, put your pack on, buckle and tighten the hipbelt and shoulder straps, and see where the shoulder straps meet the backpack. Ideally, you want this point to be relatively level with your shoulders (slightly above or below is all right)—too high and the straps will pinch your neck; too low and you won’t get proper weight transfer to the hipbelt. If the straps are too high, shorten your torso length. If they’re too low, lengthen it.
Not all packs come with hipbelt adjustments, but this feature can be handy for those with particularly lanky or stout builds. With your pack on, snug the hipbelt around your waist. You want the beefy side padding to be centered over your iliac crest and the buckle to be squarely in the middle. If you can’t tighten your belt anymore, it needs to be shortened. Alternatively, if the belt is so extended that you have webbing (rather than the wide padding) touching your hip bones, it will need to be lengthened.
If you’ve had your pack sized and fitted by a professional (most gear shops, including REI, offer this service), you’re ready to hit the trail. But adjusting your pack’s fit is never over. Your load will be balanced slightly differently each time you pack and will change even more as you eat your food throughout your trip (for more on the topic, see our article on How to Pack a Backpacking Pack). Therefore, every time you put your pack on, it’s important to make sure that you adjust and fine-tune each strap mentioned above: hipbelt, shoulder straps, load lifters, sternum strap—in that order. We’ll also adjust our pack many times throughout the day on the trail to move pressure around or modify our center of gravity (lower is better on uneven terrain).
 Women’s-Specific Packs
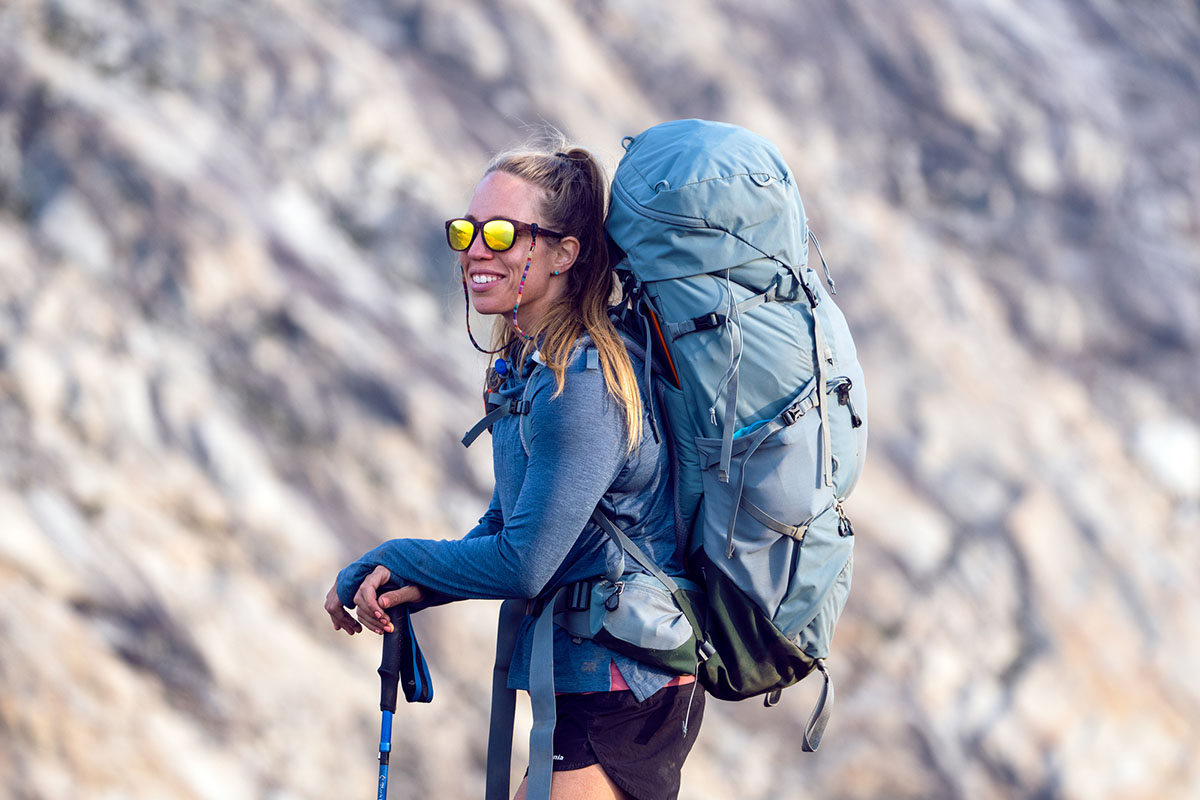
Most modern packs are available in both men’s and women’s versions, which differ in terms of sizing. Whereas men’s packs are designed for those with broad shoulders and smaller hips, women’s models are built with narrow shoulders and wider hips in mind. These packs will generally be smaller overall and concentrate weight lower on the body (women have a lower center of gravity than men). The shoulder straps and hipbelt are also shaped and padded anatomically, as well as sized more narrowly. We've been particularly impressed by Deuter's SL (short for "Slim Line") offerings, and we've also had good luck with many of Osprey's women's-specific designs. In the end, most women will find that a women’s-specific pack fits better than a men’s model, but we always recommend trying before you buy. And it almost goes without saying that you should always choose the pack that offers the best all-around fit, regardless of gender designation.
If you're still in search of your perfect backpacking pack, below are our top selections across various categories, from budget-friendly options for those just starting out to targeted ultralight designs for ounce-counting thru-hikers. For a wider look at the market, including detailed buying advice to help you choose the right pack for your needs, see our full articles on the best backpacking packs, best women's backpacking packs, and best ultralight backpacks.
Best overall: Osprey Atmos AG 65
Best budget: REI Co-op Trailmade 60
Best ultralight: Hyperlite Mountain Gear Southwest 55
Our favorite for heavy loads: Gregory Baltoro 75
Best balance of comfort and lightweight: Osprey Exos 58
Best plus-size: Gregory Zulu 65
Best overall: Osprey Aura AG LT 65
Best budget: REI Co-op Flash 55
Best ultralight: Hyperlite Mountain Gear Southwest 55
Most comfortable for heavy loads: Gregory Deva 70
Best balance of comfort and lightweight: Osprey Eja 58
Best plus-size: Gregory Jade 63 Plus Size
Best overall: Hyperlite Mountain Gear Southwest 55
Best budget: REI Co-op Flash 55
Best for customizing fit: ULA Equipment Circuit
Standout mix of support and ventilation: Osprey men's Exos 58 / women's Eja 58
Best frameless: Mountain Laurel Designs Exodus 55L
Best for fastpacking: Ultimate Direction Fastpack 40
Back to our Backpack Fit Guide See Our Backpacking Gear Reviews